Thursday, December 29, 2011

Somewhere around Day 50 or so I guess

So almost a month has gone by since my last post. I've been busy and progress has been slow. I didn't see much point in doing any updates if I didn't have anything to add.

But now I do.

I finally got all the frames cut, properly sized, and rounded.


My original idea of using a router to cut them didn't work out. My templates were too thin (1/8") and I couldn't get the bearing on the bit to properly follow the template. So I ended up using the templates as patterns and cut all of these out with my jigsaw.

Know what this is?


Yup. That's blood alright. But not mine. My friend Sam was over this weekend and decided he wanted to come downstairs and give me a hand. So I gave him some chisels and asked him to start cutting out the notches. I guess my chisels are a little sharper than what he is use to. That WorkSharp 3000 is really doing a great job keeping my chisels and planes "scary sharp". I love it.

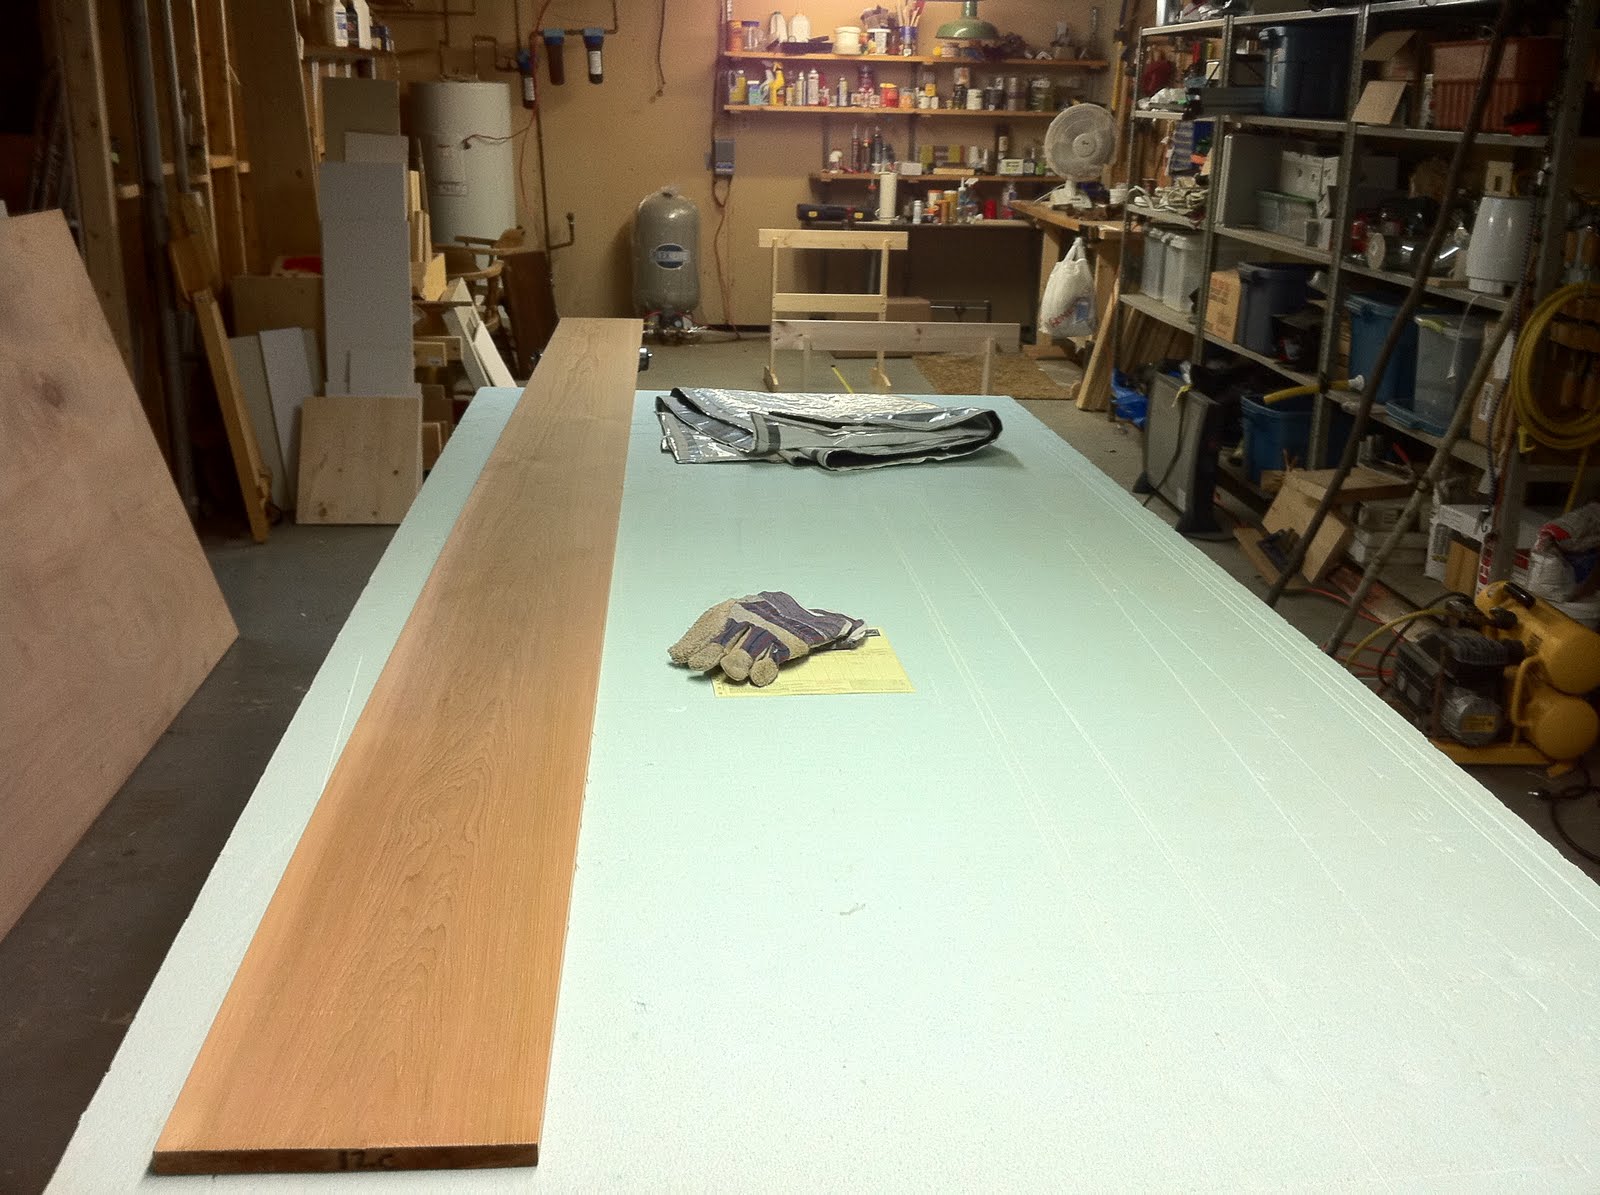
I also managed to get my strongback started.


The kayak will be built on this. Some people build very fancy strongbacks, and I may do that one day, but for the moment, the only thing I intend to do is put some 1/2" plywood down the length of it so I have something smooth to work on.

Here's the same pic with the frames laid out.


Does it look like a kayak yet? :) I suppose not. But I'm getting there.

Finally, a little more gloating. My Festool collection is coming along nicely. I really like the way all the containers stack together.


Next I will be oiling all the stringers and frames before I start the assembly.

So, progress is being made!

And I'm having a very good time.

Monday, December 5, 2011

Somewhere around Day 25 or so

Well, I've been doing that work thing for awhile so I haven't had much of a chance for any updates. 


I finished cutting out all my templates


Next I will have to sand them, round them, and then use them to cut out the actual forms. Maybe it would have been easier to just cut them out directly, but it was fun using my jigsaw.

I built a jig to cut my scarf joints. Pretty easy when using a guided rail system


Here are a number of my scarf joints being glued up. I shot a nail through each joint to hold it aligned when I glued. Seemed to work well.


Tool gloat! Here is this cool little round-over plane which I got at Lee Valley. What an easy way to do a round over, and it works great with cedar. For the gunwales I'll have to use a router since I want a 1/4" round over, (the plane does 1/16"). Still, running this little plane down 18' of stringer was lots of fun.


Finally, I must report that our kayak season has ended. Here is a shot of sandra heading out in her kayak through the early forming ice, and the a shot of what it looked like the next day.


Lots of work still to do. Next, I have to cut out the forms, and then build the strongback.

Having lots of fun too!

Wednesday, November 16, 2011

Progress Day 14

I cut quite a few strips of cedar.


They still have to be sanded, rounded, and joined. But I'm holding off on doing that, pending the arrival of a new rounding plane which should make the job faster and easier.

Meantime I've started cutting the templates from the plans.


NOTE TO SELF: Next time don't use 1/8" hardboard. Too thin and it cracks too much.

Another NOTE TO SELF: Next time don't cut out all the paper first, just rough cut, mount, and cut direct with the jigsaw. The paper was very flimsy and difficult to lie flat. Also hard to get a solid bond with the spray on contact adhesive. I had to keep a small stick of paper glue nearby to keep gluing lifting edges. Also, sandra hated doing the cutting out!

Another NOTE TO SELF: Start with one first, before you mount all of them and see you have a problem.

Anyway, I have spent the last few days cutting them out to the best of my ability.


Cutting out the slots was interesting work. Needed a sharp chisel. Happily I have sharp chisel because...


... this was my new purchase this week, and it is really really nice. It allows me to keep a scary sharp edge on all my chisels and planes, (and other edged tools). Very fast, very easy, very good.

For the first time ever, I can shave the hair off my arm with my chisels. I love this tool.

I also made the mistake of mounting the templates for the brackets on the hardboard.


I only realized after all this was done that it wasn't really required, and I could have simply built it directly, but I will keep these for reference if I ever build the boat again.

So, that's it for now. No more work for a week or so (since I have to go to work myself!).

Look for more updates early next month.

Monday, November 14, 2011

Day 12 or so

So here I am ready to start ripping. My longest piece of cedar runs 12', and my longest guide rail (I don't have a tablesaw like most normal woodworking folk. I use a system of tools by a company called Festool). 


So I have joined to of my rails together to make something long enough. They are held together by a connector that slides in the T-channel underneath. I'm really suppose to have two, but I only have one.


The pieces below are also part of the Festool system. They allow me to make repetitive thin strip cuts. If I didn't have them, cutting all the stringers to exactly the same 1" width would be tough.


Here I am ready to start ripping. Eventually I figured out how to get all of this off the floor, which was a great deal more comfortable.


Finally a shot of two blue kayaks drifting on the late, sometime in November, which for around here is pretty good.


The action is just getting started. Stay tuned.

Day 10 (I think)

Here we are in my basement, ready to start. I have some nice western red cedar that is ready to be ripped into the gunwales, chines, stringers (the long pieces that run down the length of the boat). I'll be ripping them into different widths between 1"-1.5"


Here is a sheet of 1/2" marine plywood. Kinda pricy, but worthwhile to have if the inside of your boat might get wet, which i will. 


Here are some support stands I've built for my strongback (which will hold the boat as I build it). The tape measure is to make sure I have at least 20' available (I do).


Finally, here is a picture of sandra enjoying a fine autumn day on the lake, while I'm busy playing in the shop. Some people have all the fun.


More posts, and pics coming.

Friday, November 11, 2011

I begin.. well actually about 7 days ago


Hi everyone,

No, my real name is not YoYo, and I am not building a Akyak. My name is Jerry and I am building a kayak. The name of this blog will probably be explained at a later date, for those of you who don't know me well.

But first, a picture, since this will be a very visual blog. Here is the lake where I do most of my kayaking. It is called Lac Manitou and it is in the province of Quebec. The person in the photo is my wife, launching her kayak in late September this year.


This is going to be my first attempt to build a kayak. In fact, it is my first attempt to build anything this large. Which makes me a bit nervous. While I have done a little woodworking, most of my projects so far have been things like this:


The kayak I am going to try and build looks like this


Or more like this when it is finished


So, as you can see, I have quite the job ahead of me. I'm nervous but also excited. I have a feeling this project will keep me busy all winter!


By the way, the boat I am building comes from plans I got from a company called Kudzucraft and the type of boat I am building is called a Long Shot (which I hope does not refer to my chances of finishing this project successfully!). The photos above come from their web site, and I haven't asked Jeff's (the owner's) permission, but I am pretty sure he won't mind me using them.


So stayed tuned. Lots of boat building action to come.